妙手空空创建图像
图像本质上是数组。灰度图像可以用二维
ndarray 表示,彩色图像则是带 B、G、R 三个通道的三维数组。
本章从坐标系统开始,使用 np.zeros()、np.ones()、切片赋值和随机数,直接从空数组创建可显示的图像。
5-1
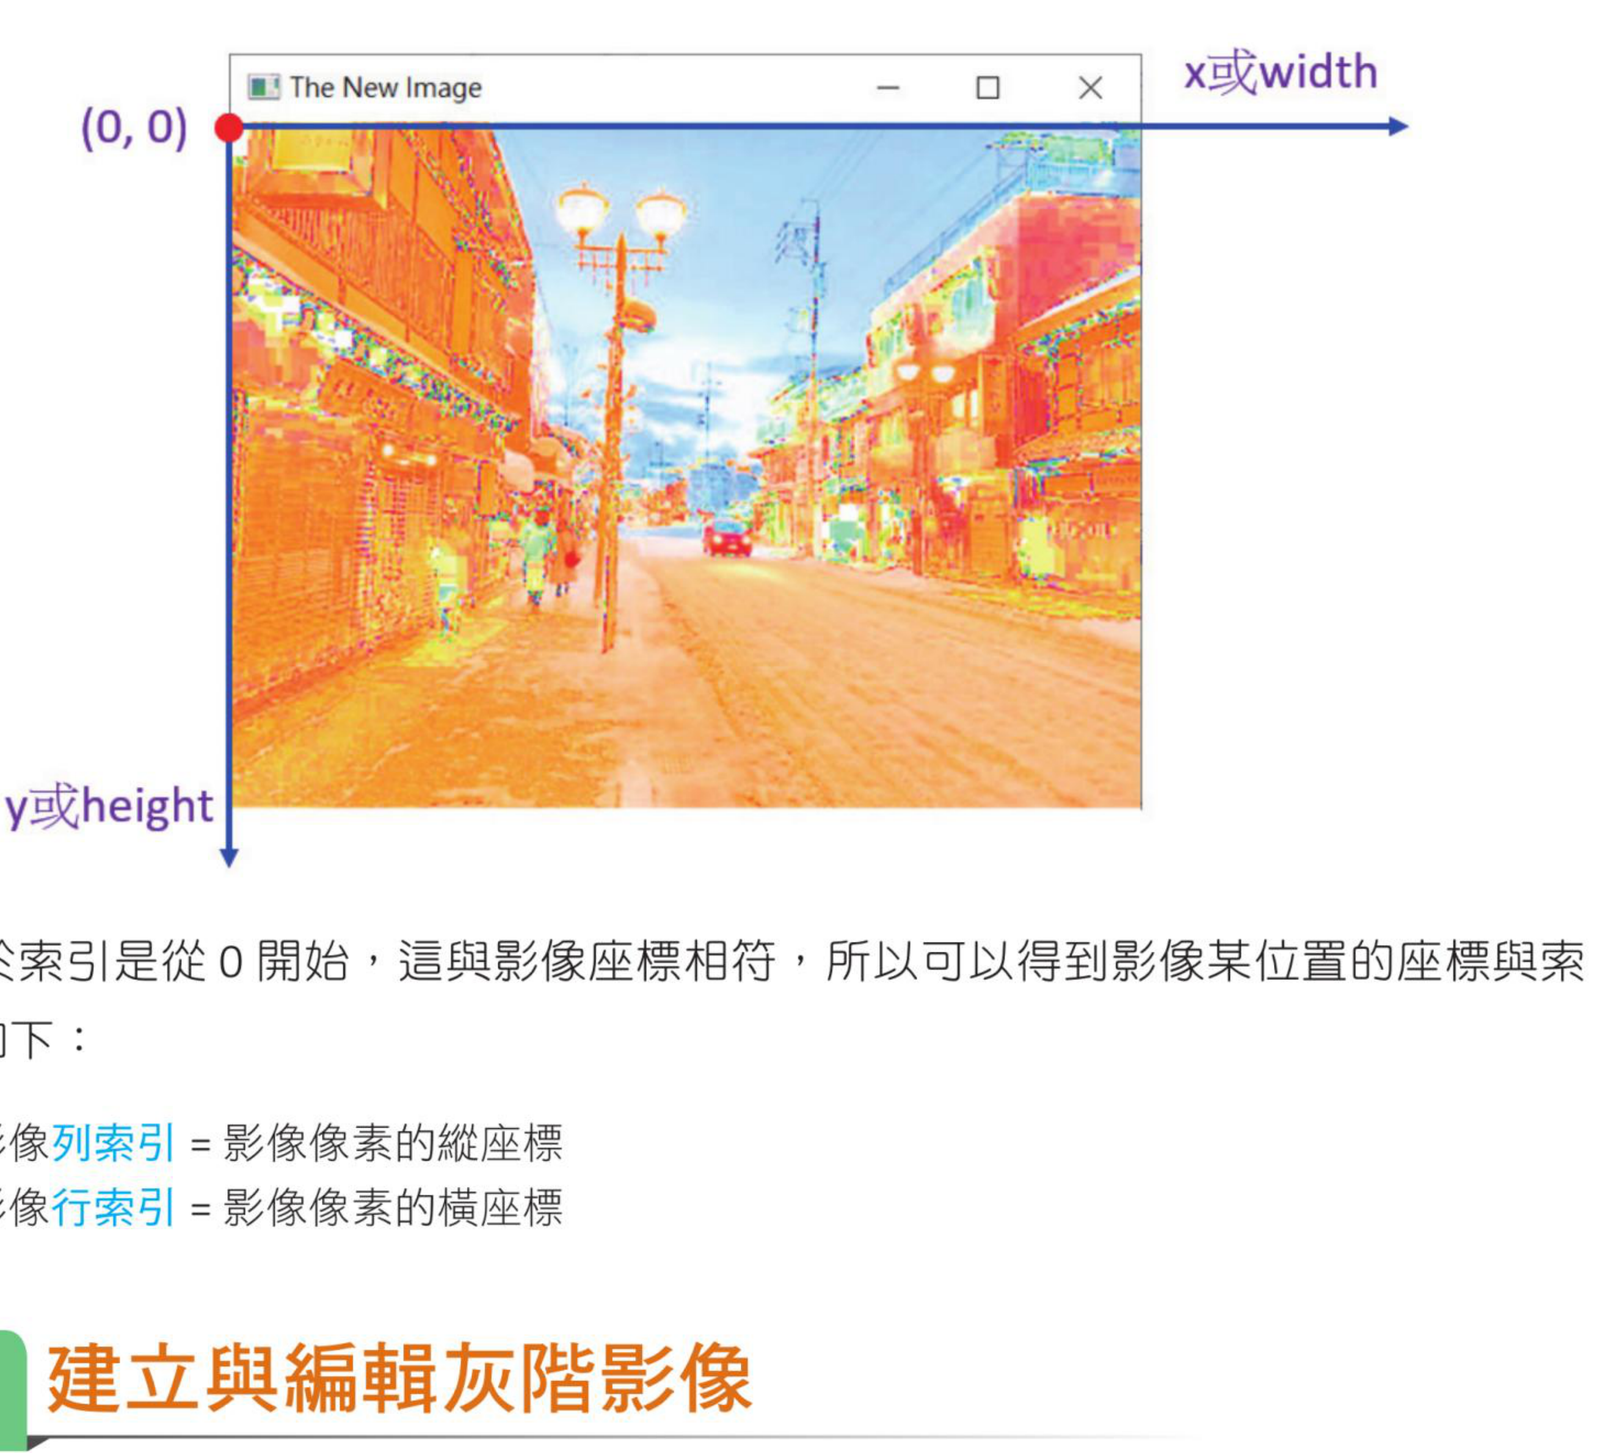
图像坐标
OpenCV 图像坐标以左上角为原点 (0, 0)。向右是横坐标 x 或 width,向下是纵坐标
y 或 height。对应到 Numpy 数组时,访问顺序是 image[y, x],也就是先写行索引(高度、y),再写列索引(宽度、x)。
坐标关系
图像坐标与数组索引的对应关系,参考原书第 5-2 页。
写 OpenCV 图像处理代码时,数组索引用
image[y, x];但许多绘图函数的点坐标写成 (x, y)。这两个顺序不要混淆。
5-2
创建与编辑灰度图像
灰度图像是二维数组,元素值范围通常是 0 ~ 255。0 是黑色,
255 是白色,中间值表示不同深浅的灰。
程序实例 ch5_1.py:创建黑色灰度图像
import cv2
import numpy as np
height = 160
width = 280
image = np.zeros((height, width), np.uint8)
cv2.imshow("image", image)
cv2.waitKey(0)
cv2.destroyAllWindows()
执行结果
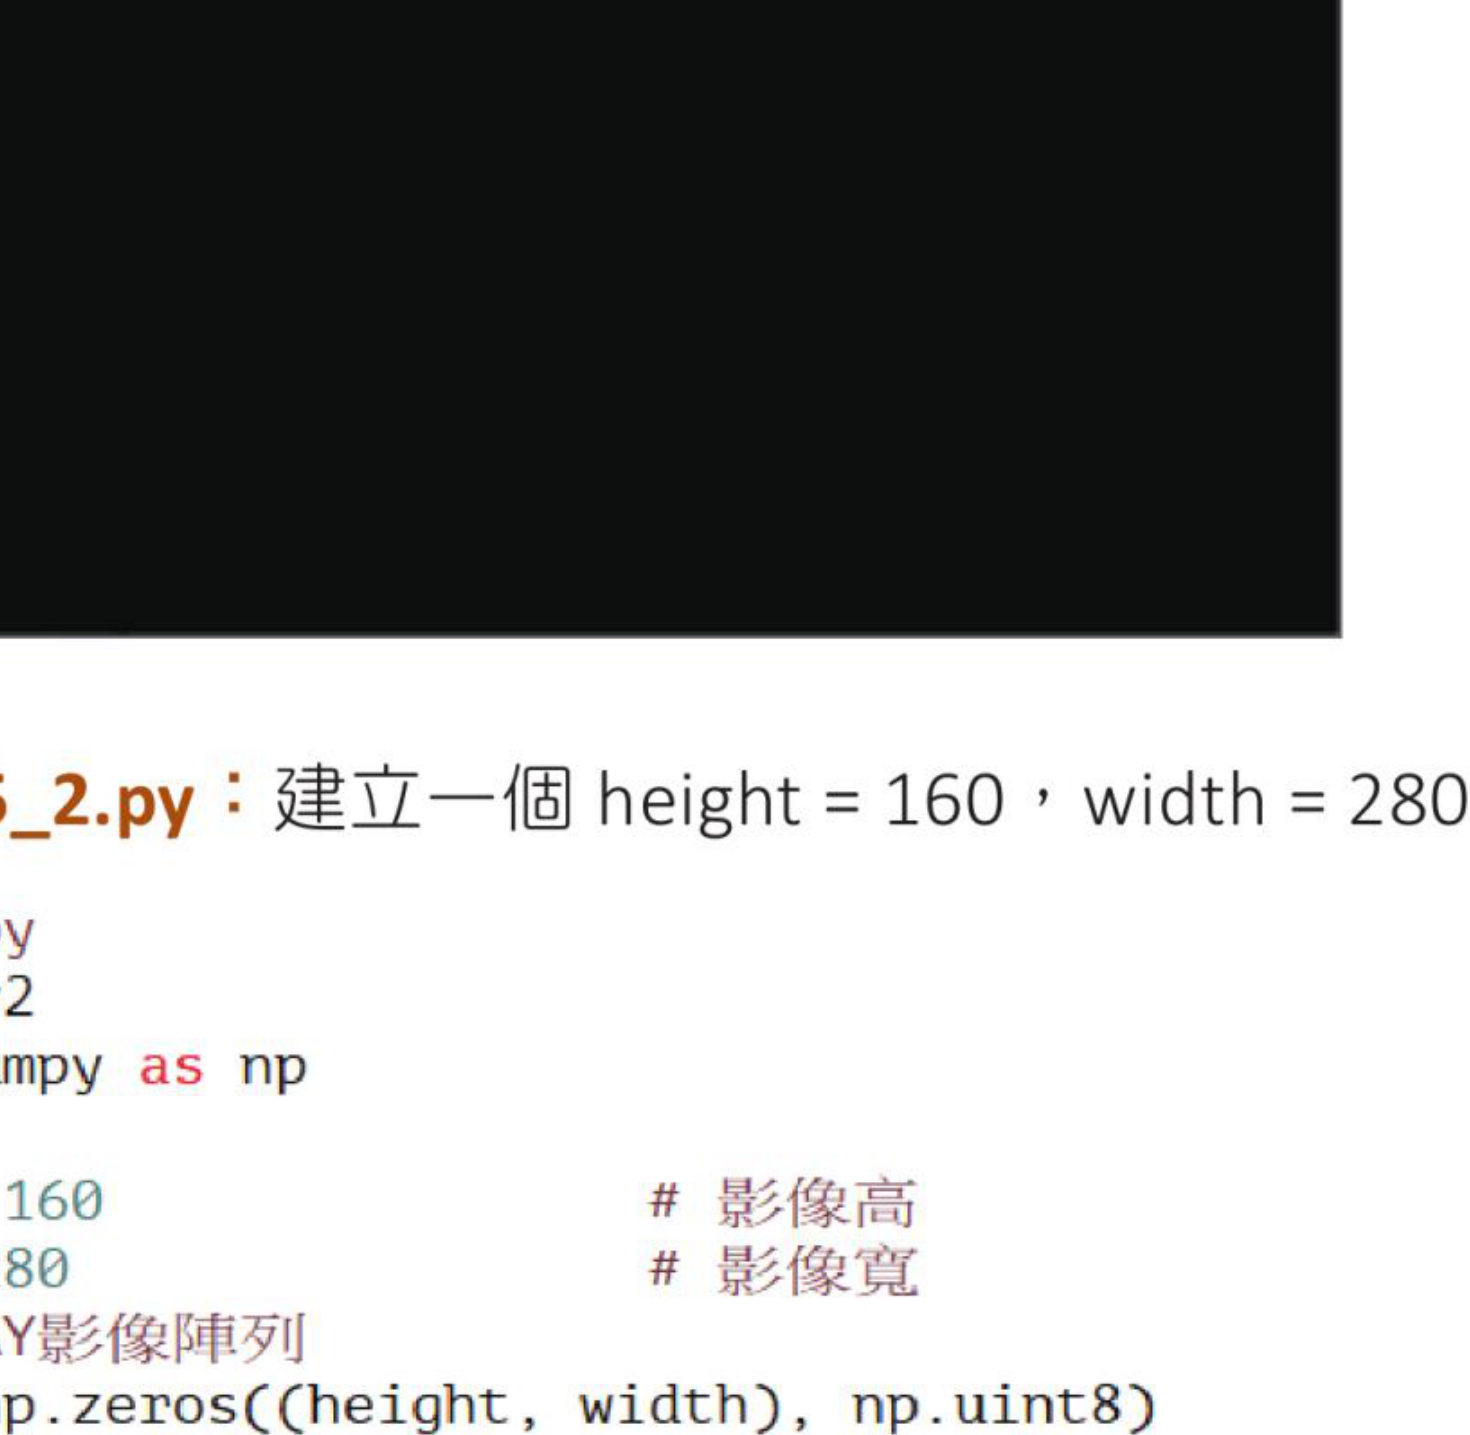
用零数组创建黑色图像,参考原书第 5-3 页。
程序实例 ch5_2.py:使用 fill(255) 创建白色灰度图像
# ch5_2.py
import cv2
import numpy as np
height = 160
width = 280
image = np.zeros((height, width), np.uint8)
image.fill(255)
cv2.imshow("image", image)
cv2.waitKey(0)
cv2.destroyAllWindows()
执行结果
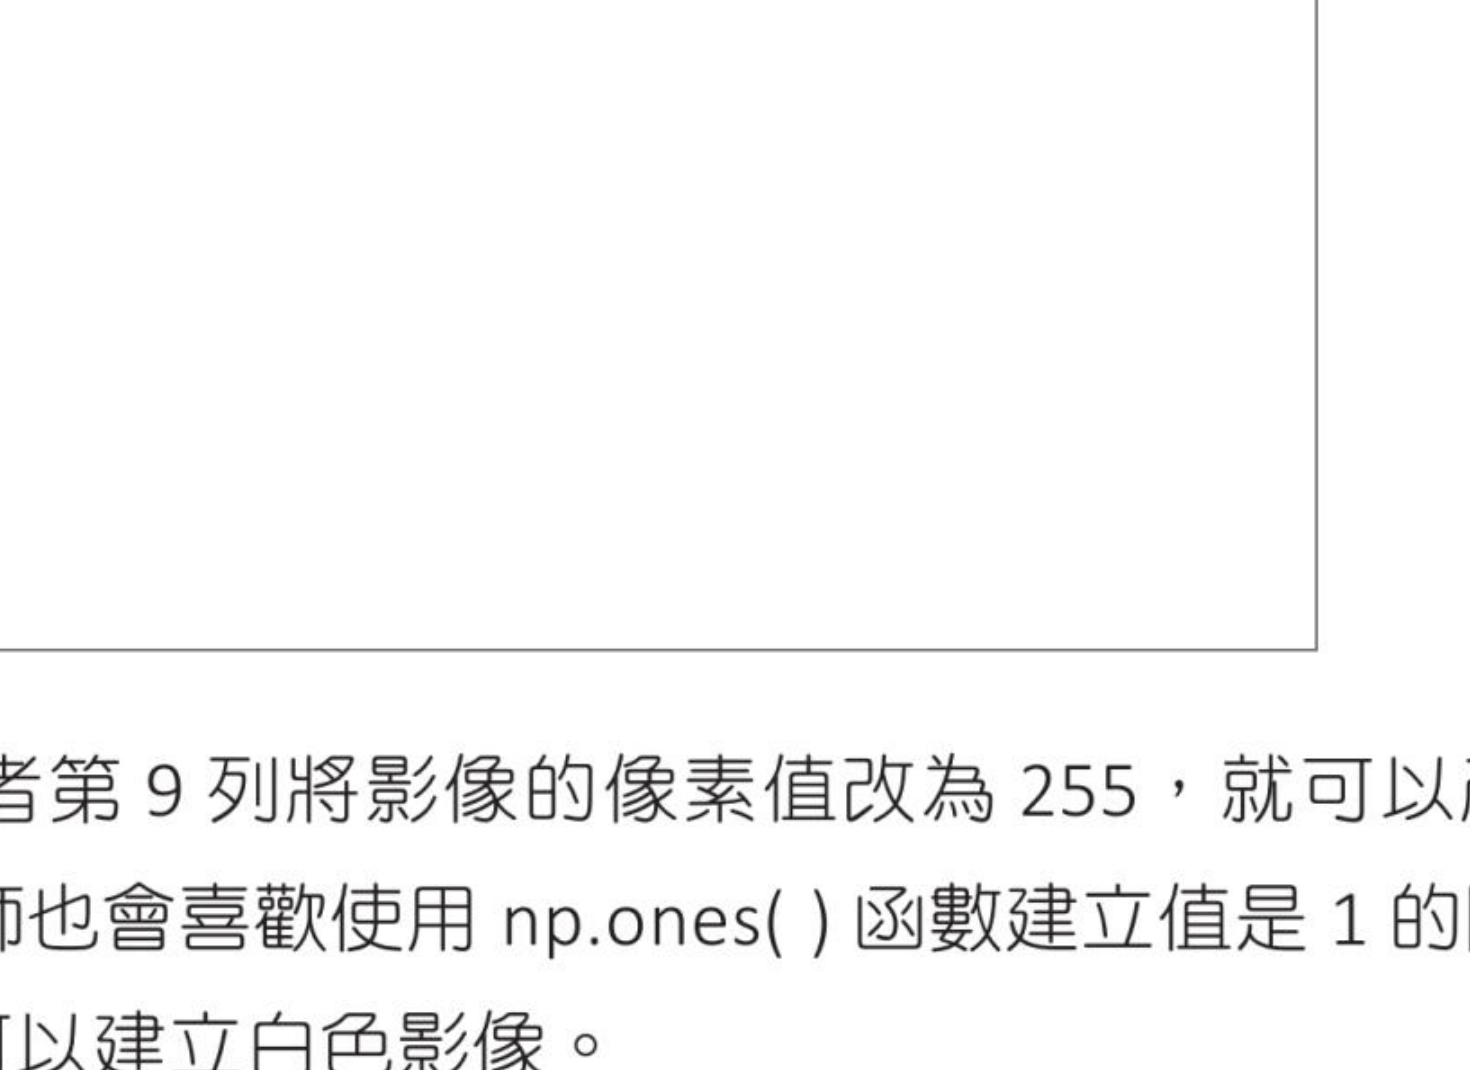
白色灰度图像,参考原书第 5-3 到 5-4 页。
程序实例 ch5_3.py:使用 ones() 创建白色灰度图像
# ch5_3.py
import cv2
import numpy as np
height = 160
width = 280
image = np.ones((height, width), np.uint8) * 255
cv2.imshow("image", image)
cv2.waitKey(0)
cv2.destroyAllWindows()
np.zeros() 后填入 255,与 np.ones() 后乘以 255,都能得到白色图像。
修改灰度图像其实就是修改二维数组。可以指定矩形范围,也可以用循环生成条纹或随机噪声。
程序实例 ch5_4.py:在黑色图像中建立白色矩形
# ch5_4.py
import cv2
import numpy as np
height = 160
width = 280
image = np.zeros((height, width), np.uint8)
image[40:120, 70:210] = 255
cv2.imshow("image", image)
cv2.waitKey(0)
cv2.destroyAllWindows()
执行结果

用切片建立白色矩形区域,参考原书第 5-4 页。
程序实例 ch5_5.py:建立黑白水平条纹
# ch5_5.py
import cv2
import numpy as np
height = 160
width = 280
image = np.zeros((height, width), np.uint8)
for y in range(0, height, 20):
image[y:y + 10, :] = 255
cv2.imshow("image", image)
cv2.waitKey(0)
cv2.destroyAllWindows()
执行结果
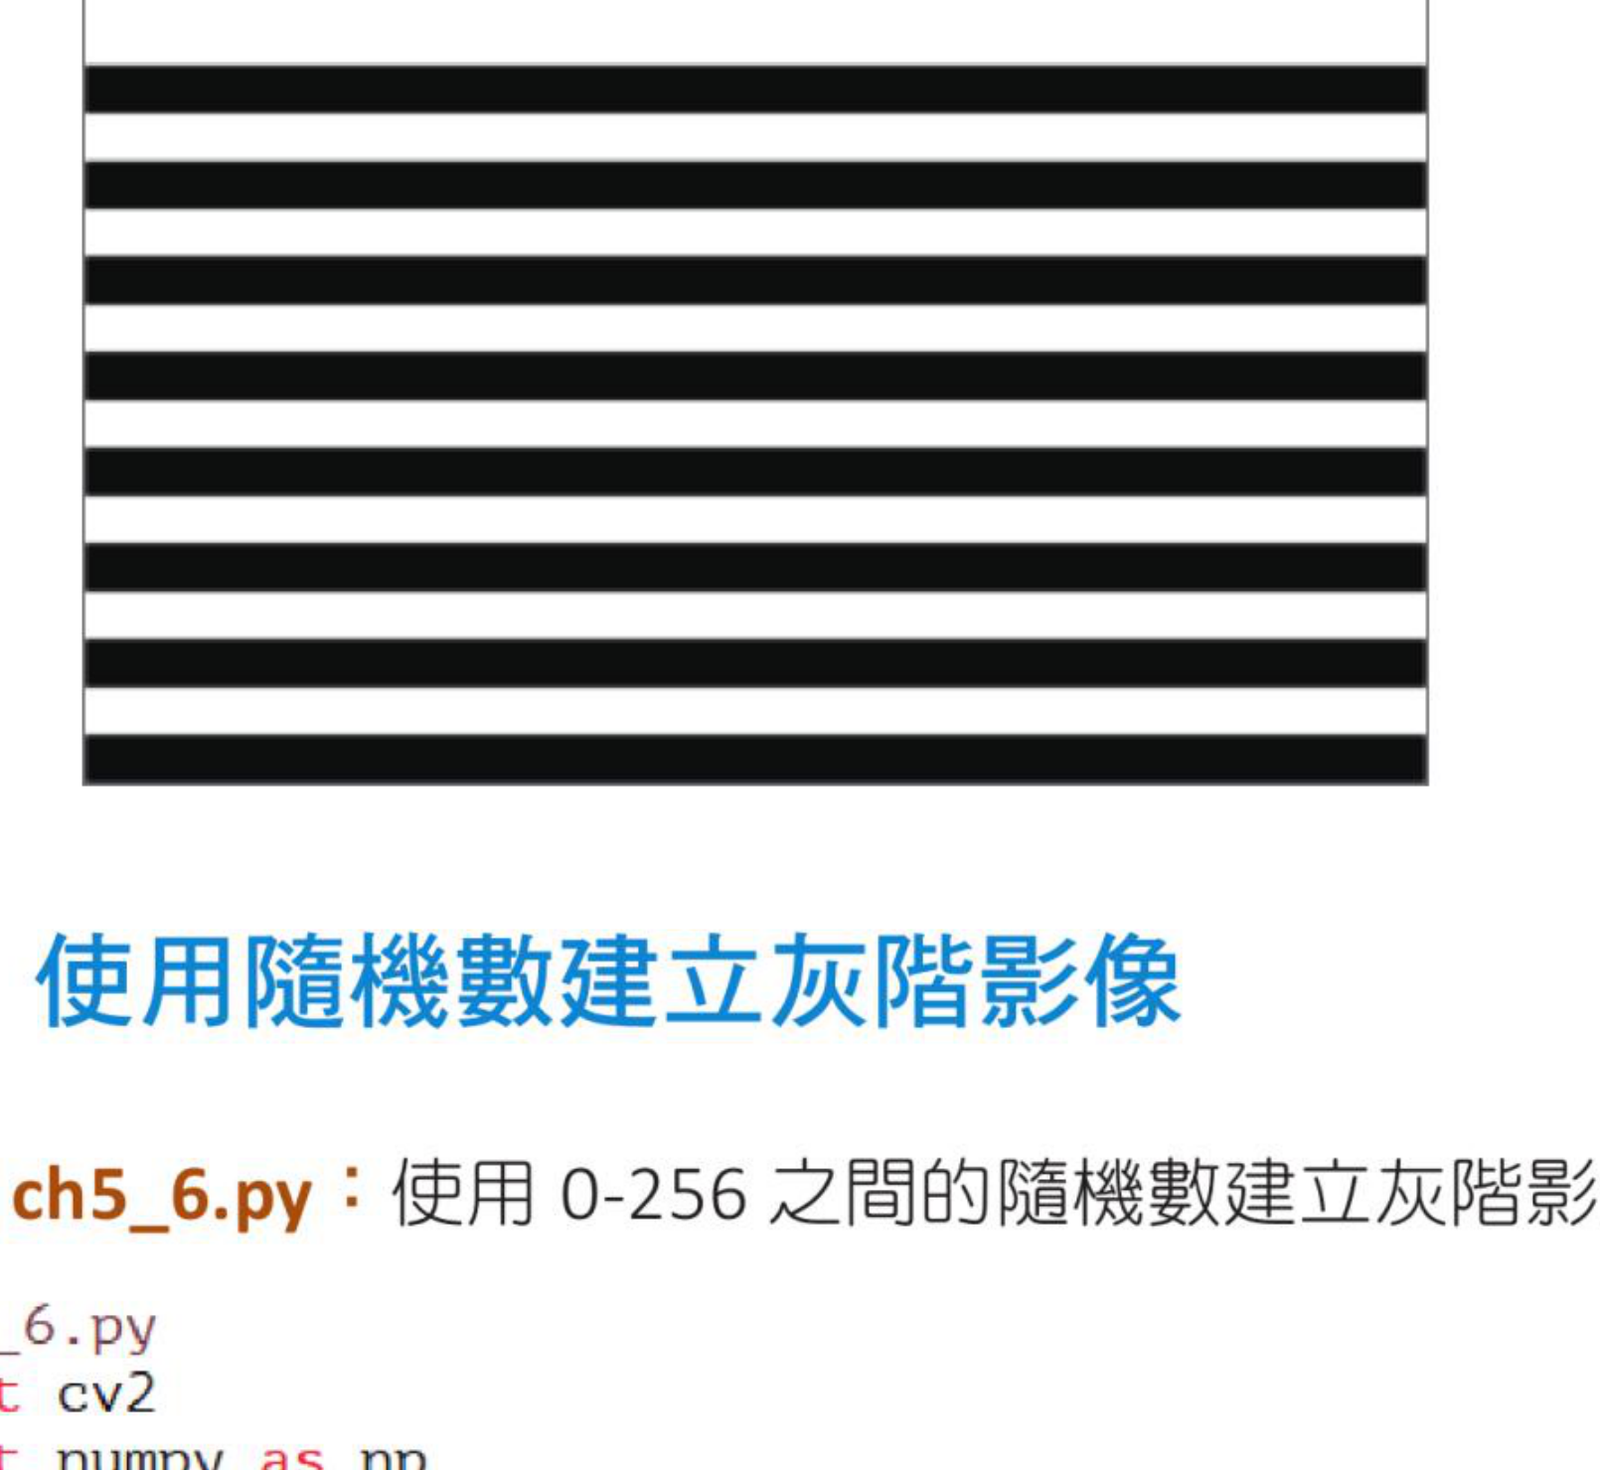
黑白相间的水平条纹,参考原书第 5-5 页。
程序实例 ch5_6.py:使用随机数建立灰度图像
# ch5_6.py
import cv2
import numpy as np
height = 160
width = 280
image = np.random.randint(256, size=(height, width), dtype=np.uint8)
cv2.imshow("image", image)
cv2.waitKey(0)
cv2.destroyAllWindows()
执行结果
随机灰度值形成噪声图像,参考原书第 5-5 页。
5-3
创建彩色图像
彩色图像是三维数组,常见形状为 (height, width, 3)。OpenCV 的第三维顺序是 B、G、R。
因此 image[:, :, 0] 是蓝色通道,image[:, :, 1] 是绿色通道,
image[:, :, 2] 是红色通道。
程序实例 ch5_7.py:建立蓝色图像
# ch5_7.py
import cv2
import numpy as np
height = 160
width = 280
image = np.zeros((height, width, 3), np.uint8)
image[:, :, 0] = 255
cv2.imshow("image", image)
cv2.waitKey(0)
cv2.destroyAllWindows()
执行结果
第三维索引 0 是 B 通道,将它设为 255 得到蓝色图像,参考原书第 5-6 页。
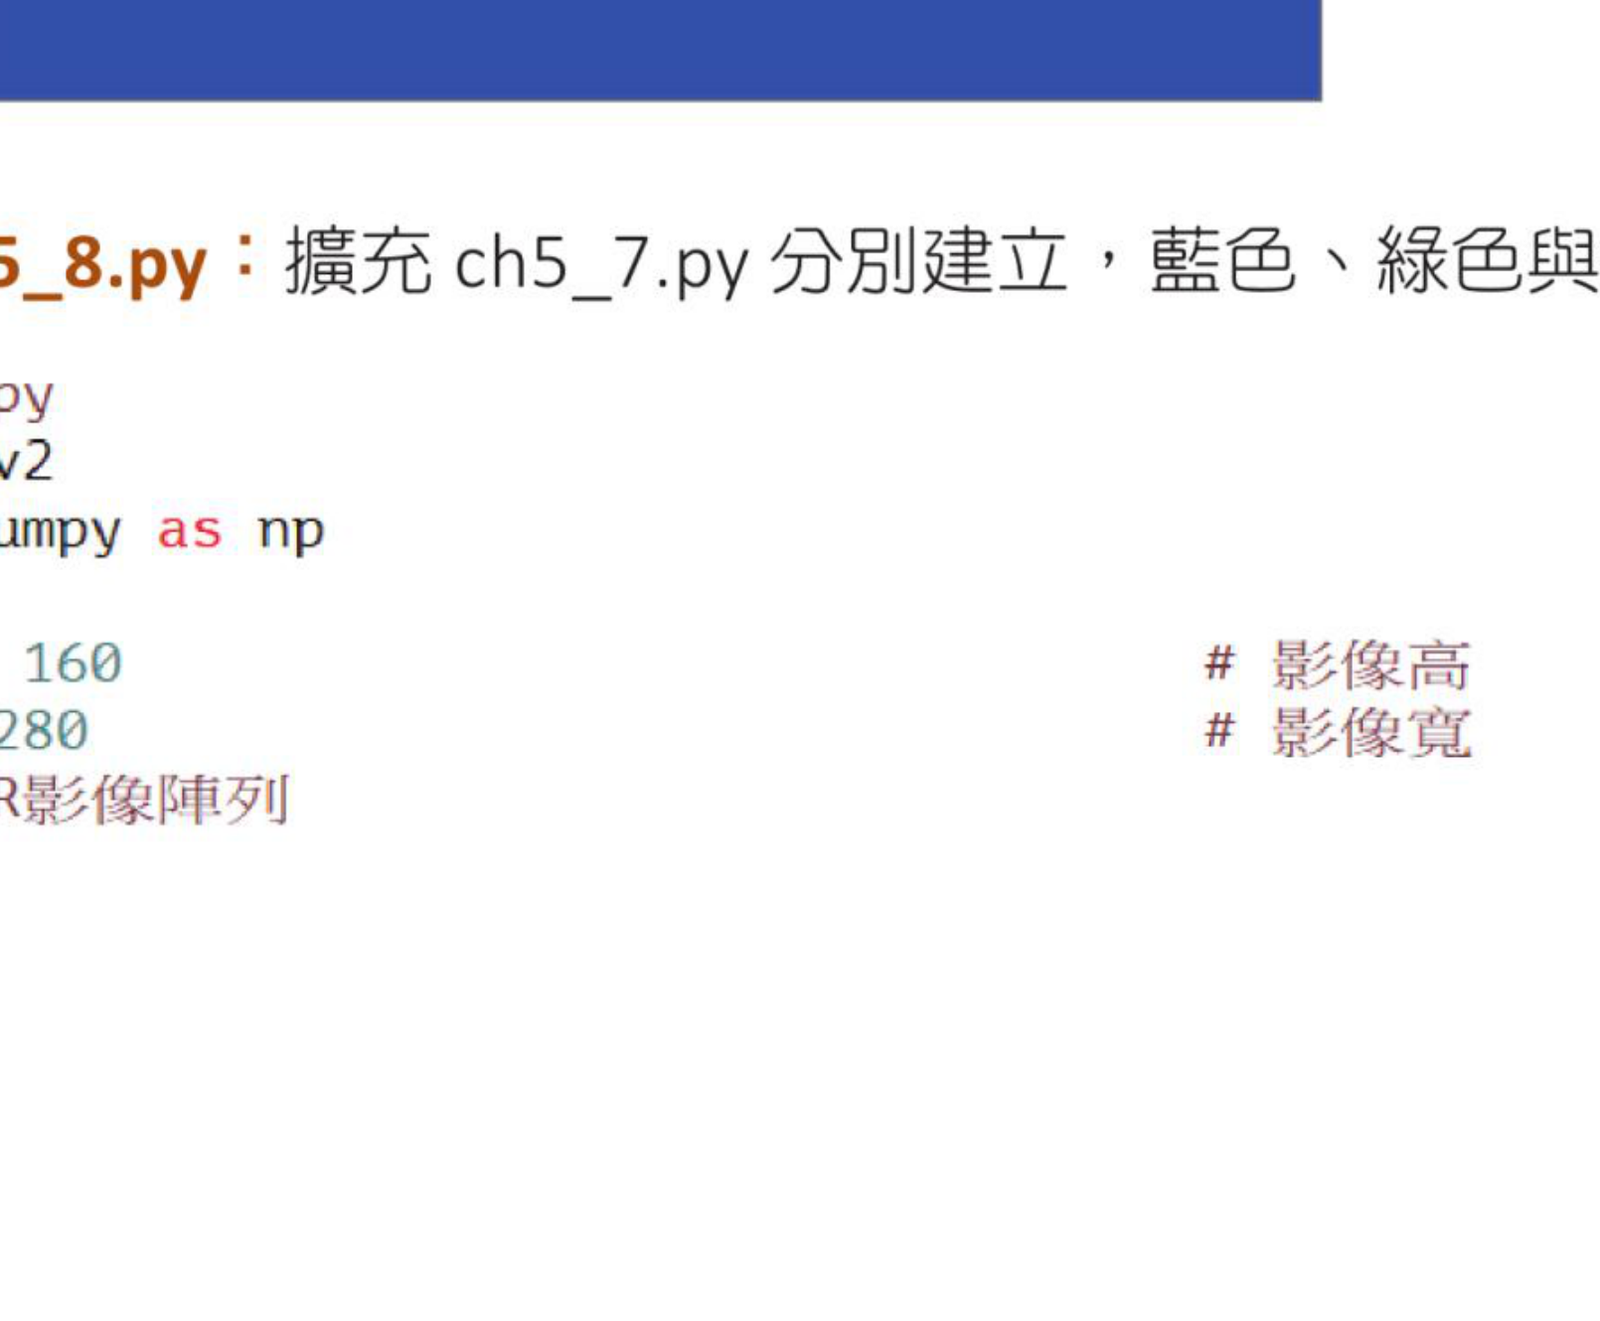
程序实例 ch5_8.py:分别建立蓝色、绿色与红色图像
# ch5_8.py
import cv2
import numpy as np
height = 160
width = 280
image = np.zeros((height, width, 3), np.uint8)
blue_image = image.copy()
blue_image[:, :, 0] = 255
cv2.imshow("blue image", blue_image)
green_image = image.copy()
green_image[:, :, 1] = 255
cv2.imshow("green image", green_image)
red_image = image.copy()
red_image[:, :, 2] = 255
cv2.imshow("red image", red_image)
cv2.waitKey(0)
cv2.destroyAllWindows()
执行结果
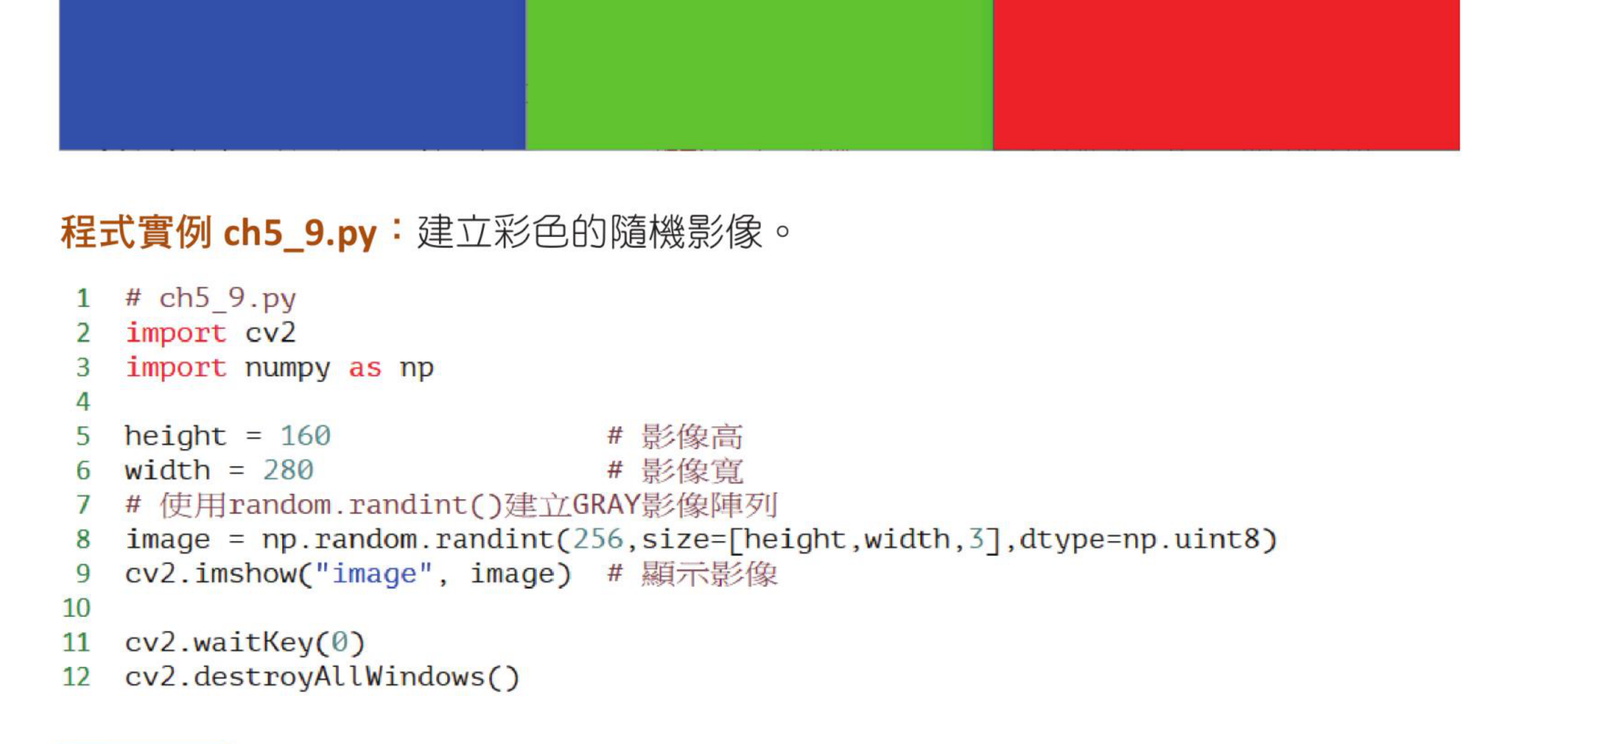
蓝、绿、红三个通道分别设为 255,参考原书第 5-7 页。
程序实例 ch5_9.py:建立随机彩色图像
# ch5_9.py
import cv2
import numpy as np
height = 160
width = 280
image = np.random.randint(256, size=(height, width, 3), dtype=np.uint8)
cv2.imshow("image", image)
cv2.waitKey(0)
cv2.destroyAllWindows()
执行结果
每个像素都有随机 B、G、R 值,参考原书第 5-8 页。
程序实例 ch5_10.py:建立彩色条纹
# ch5_10.py
import cv2
import numpy as np
height = 150
width = 300
image = np.zeros((height, width, 3), np.uint8)
image[0:50, :, 0] = 255
image[50:100, :, 1] = 255
image[100:150, :, 2] = 255
cv2.imshow("image", image)
cv2.waitKey(0)
cv2.destroyAllWindows()
执行结果

用不同通道建立蓝、绿、红色块,参考原书第 5-9 页。
习题
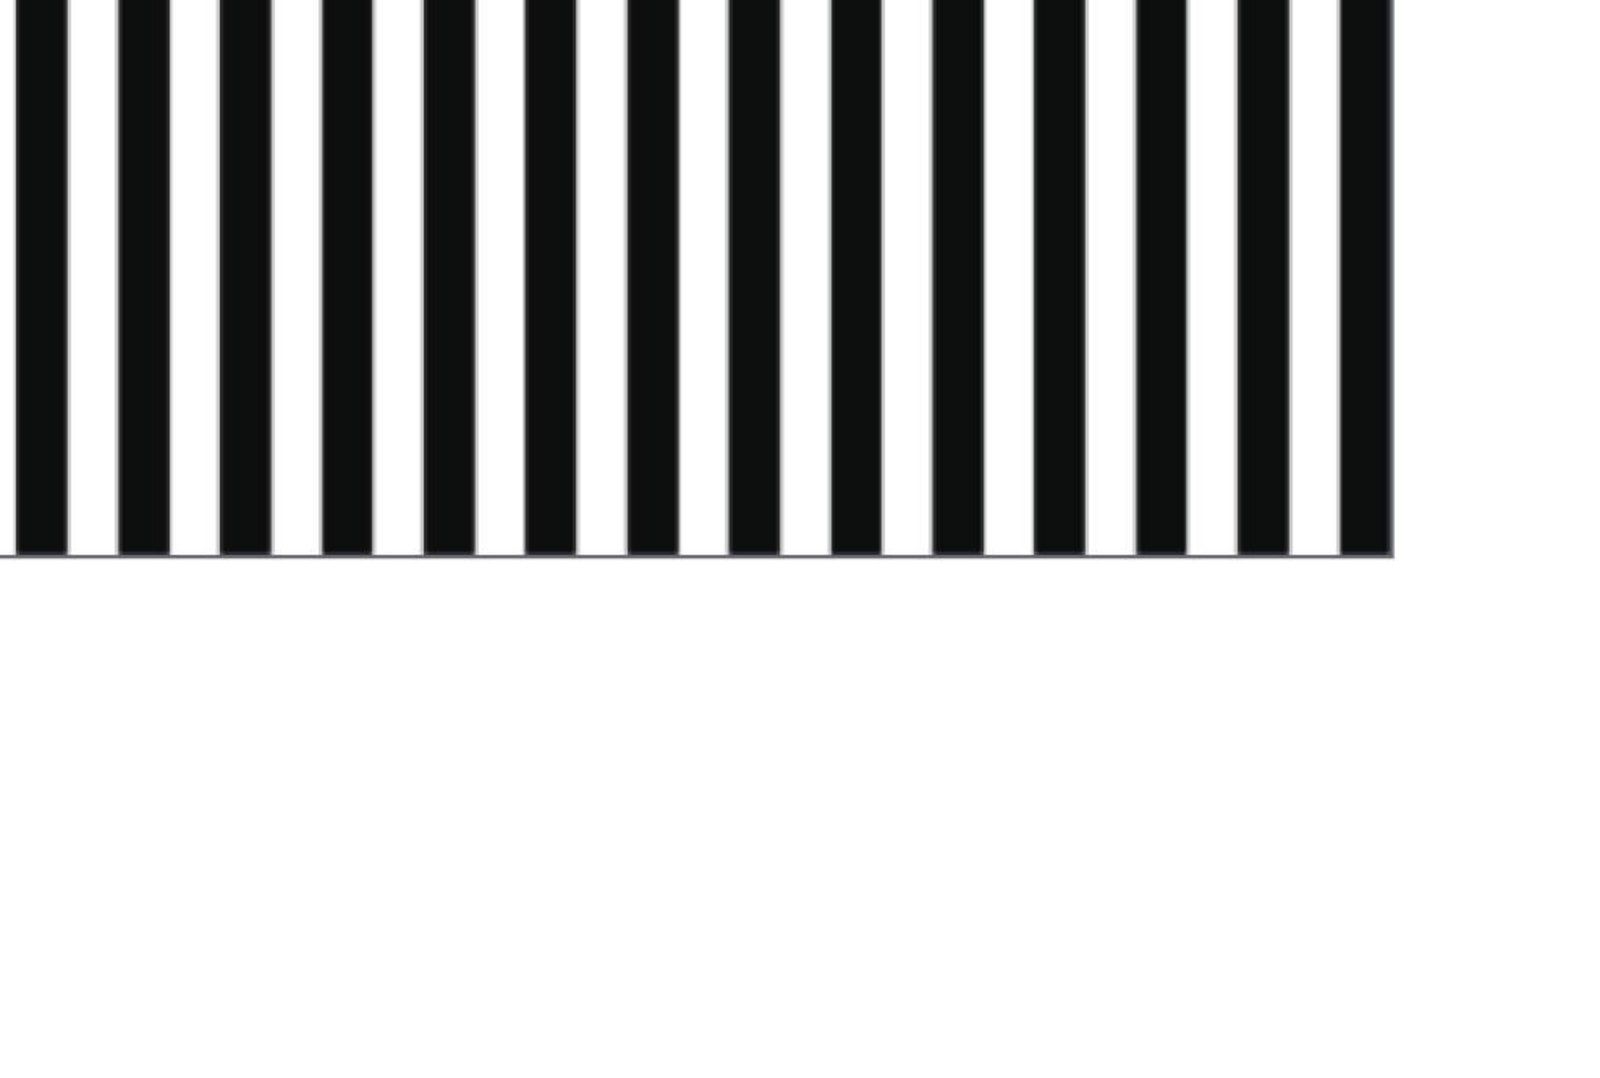
1. 将水平黑白条纹改成垂直黑白条纹。
import cv2
import numpy as np
height = 160
width = 280
image = np.zeros((height, width), np.uint8)
for x in range(0, width, 20):
image[:, x:x + 10] = 255
cv2.imshow("image", image)
cv2.waitKey(0)
cv2.destroyAllWindows()
习题 1 参考效果,参考原书第 5-10 页。
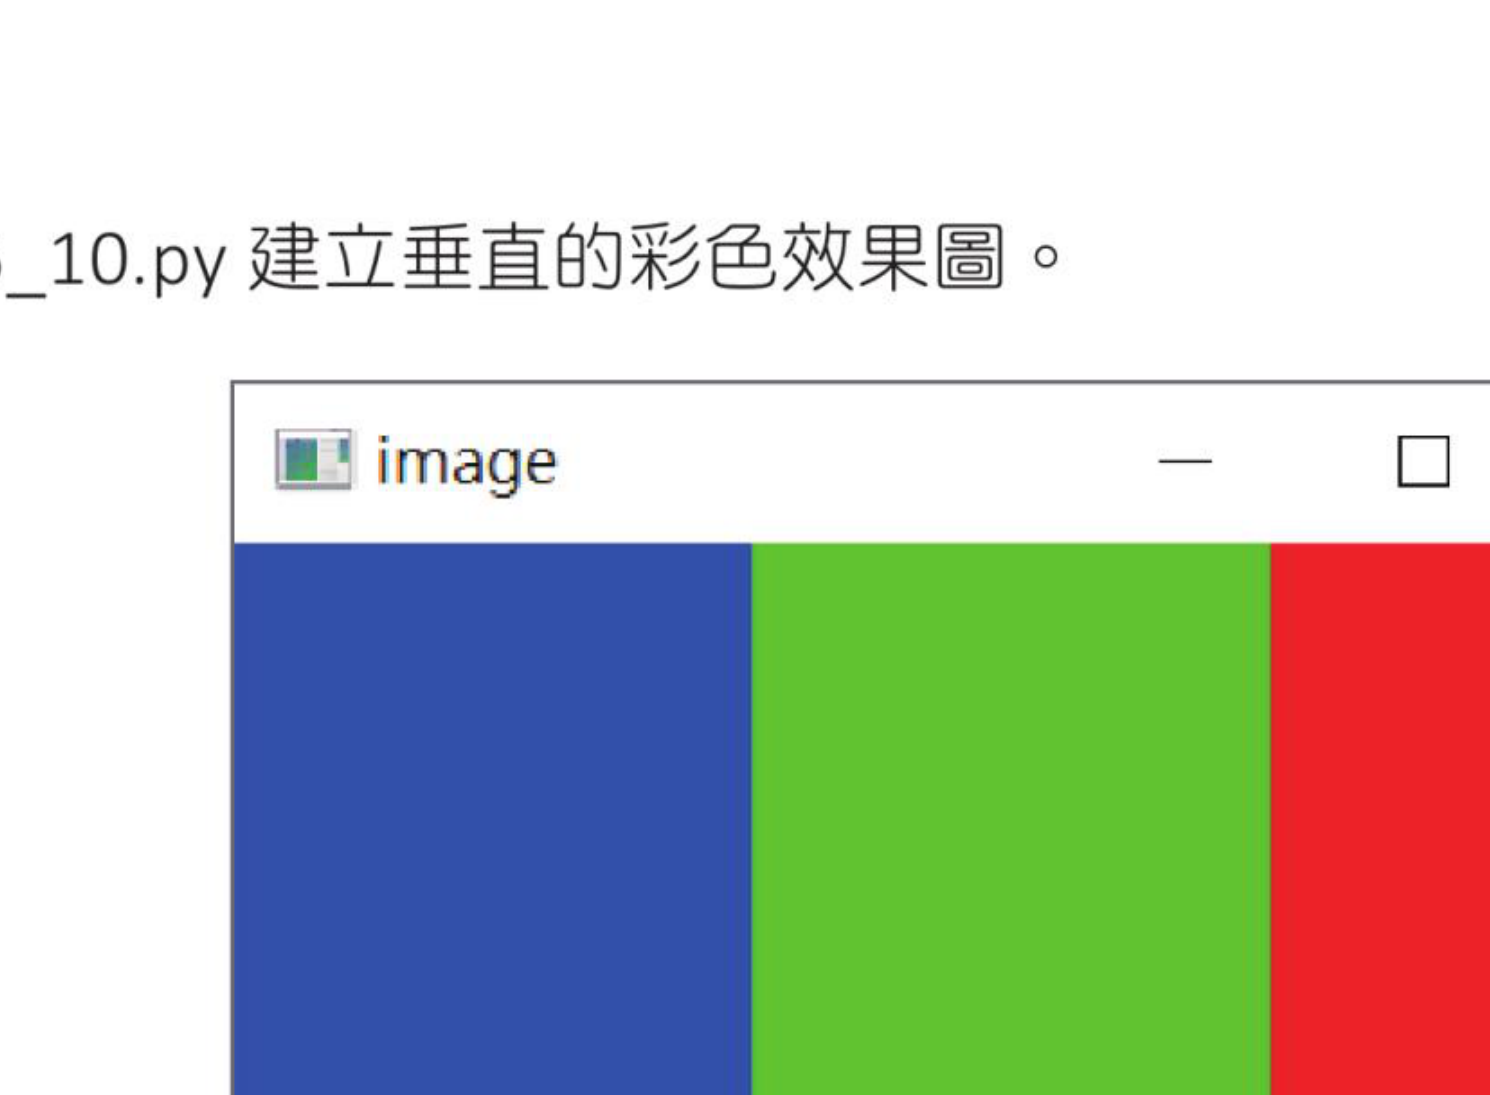
2. 将彩色横条改成垂直彩色条。
import cv2
import numpy as np
height = 150
width = 300
image = np.zeros((height, width, 3), np.uint8)
image[:, 0:100, 0] = 255
image[:, 100:200, 1] = 255
image[:, 200:300, 2] = 255
cv2.imshow("image", image)
cv2.waitKey(0)
cv2.destroyAllWindows()
习题 2 参考效果,参考原书第 5-10 页。